
Documentation for version v1.11 is no longer actively maintained. The version you are currently viewing is a static snapshot. For up-to-date documentation, see the latest version.
Use Tencent Cloud Object Storage as Velero's storage destination.
You can deploy Velero on Tencent TKE, or an other Kubernetes cluster, and use Tencent Cloud Object Store as a destination for Velero’s backups.
Prerequisites
- Registered Tencent Cloud Account.
- Tencent Cloud COS service, referred to as COS, has been launched
- A Kubernetes cluster has been created, cluster version v1.16 or later, and the cluster can use DNS and Internet services normally. If you need to create a TKE cluster, refer to the Tencent create a cluster documentation.
Create a Tencent Cloud COS bucket
Create an object bucket for Velero to store backups in the Tencent Cloud COS console. For how to create, please refer to Tencent Cloud COS Create a bucket usage instructions.
Set access to the bucket through the object storage console, the bucket needs to be read and written, so the account is granted data reading, data writing permissions. For how to configure, see the permission access settings Tencent user instructions.
Get bucket access credentials
Velero uses an AWS S3-compatible API to access Tencent Cloud COS storage, which requires authentication using a pair of access key IDs and key-created signatures.
In the S3 API parameter, the “access_key_id” field is the access key ID and the “secret_access_key” field is the key.
In the Tencent Cloud Access Management Console, Create and acquire Tencent Cloud Keys “SecretId” and “SecretKey” for COS authorized account. Where the “SecretId” value corresponds to the value of S3 API parameter “access_key_id” field, the “SecretKey” value corresponds to the value of S3 API parameter “secret_access_key” field.
Create the credential profile “credentials-velero” required by Velero in the local directory based on the above correspondence:
[default]
aws_access_key_id=<SecretId>
aws_secret_access_key=<SecretKey>
Install Velero Resources
You need to install the Velero CLI first, see Install the CLI for how to install.
Follow the Velero installation command below to create velero and node-agent workloads and other necessary resource objects.
velero install  --provider aws --plugins velero/velero-plugin-for-aws:v1.1.0 --bucket  <BucketName> \
--secret-file ./credentials-velero \
--use-node-agent \
--default-volumes-to-fs-backup \
--backup-location-config \
region=ap-guangzhou,s3ForcePathStyle="true",s3Url=https://cos.ap-guangzhou.myqcloud.com
Description of the parameters:
-
--provider: Declares the type of plugin provided by “aws”. -
--plugins: Use the AWS S3 compatible API plugin “velero-plugin-for-aws”. -
--bucket: The bucket name created at Tencent Cloud COS. -
--secret-file: Access tencent cloud COS access credential file for the “credentials-velero” credential file created above. -
--use-node-agent: Enable Velero node-agent daemonset. At present, Velero File System Backup requires this daemonset, so if you are using File System Backup, it needs to be turned on. For the usage and limitation of File System Backup, See File System Backup. -
--default-volumes-to-fs-backup: Enable the use of File System Backup to back up all Pod volumes, provided that the--use-node-agentparameter needs to be turned on. -
--backup-location-config: Back up the bucket access-related configuration:region: Tencent cloud COS bucket area, for example, if the created region is Guangzhou, the Region parameter value is “ap-guangzhou”.s3ForcePathStyle: Use the S3 file path format.s3Url: Tencent Cloud COS-compatible S3 API access address,Note that instead of creating a COS bucket for public network access domain name, you must use a format of “https://cos.region.myqcloud.com” URL, for example, if the region is Guangzhou, the parameter value is “https://cos.ap-guangzhou.myqcloud.com.”.
There are other installation parameters that can be viewed using velero install --help, such as setting --use-volume-snapshots-false to close the storage volume data snapshot backup if you do not want to back up the storage volume data.
After executing the installation commands above, the installation process looks like this:
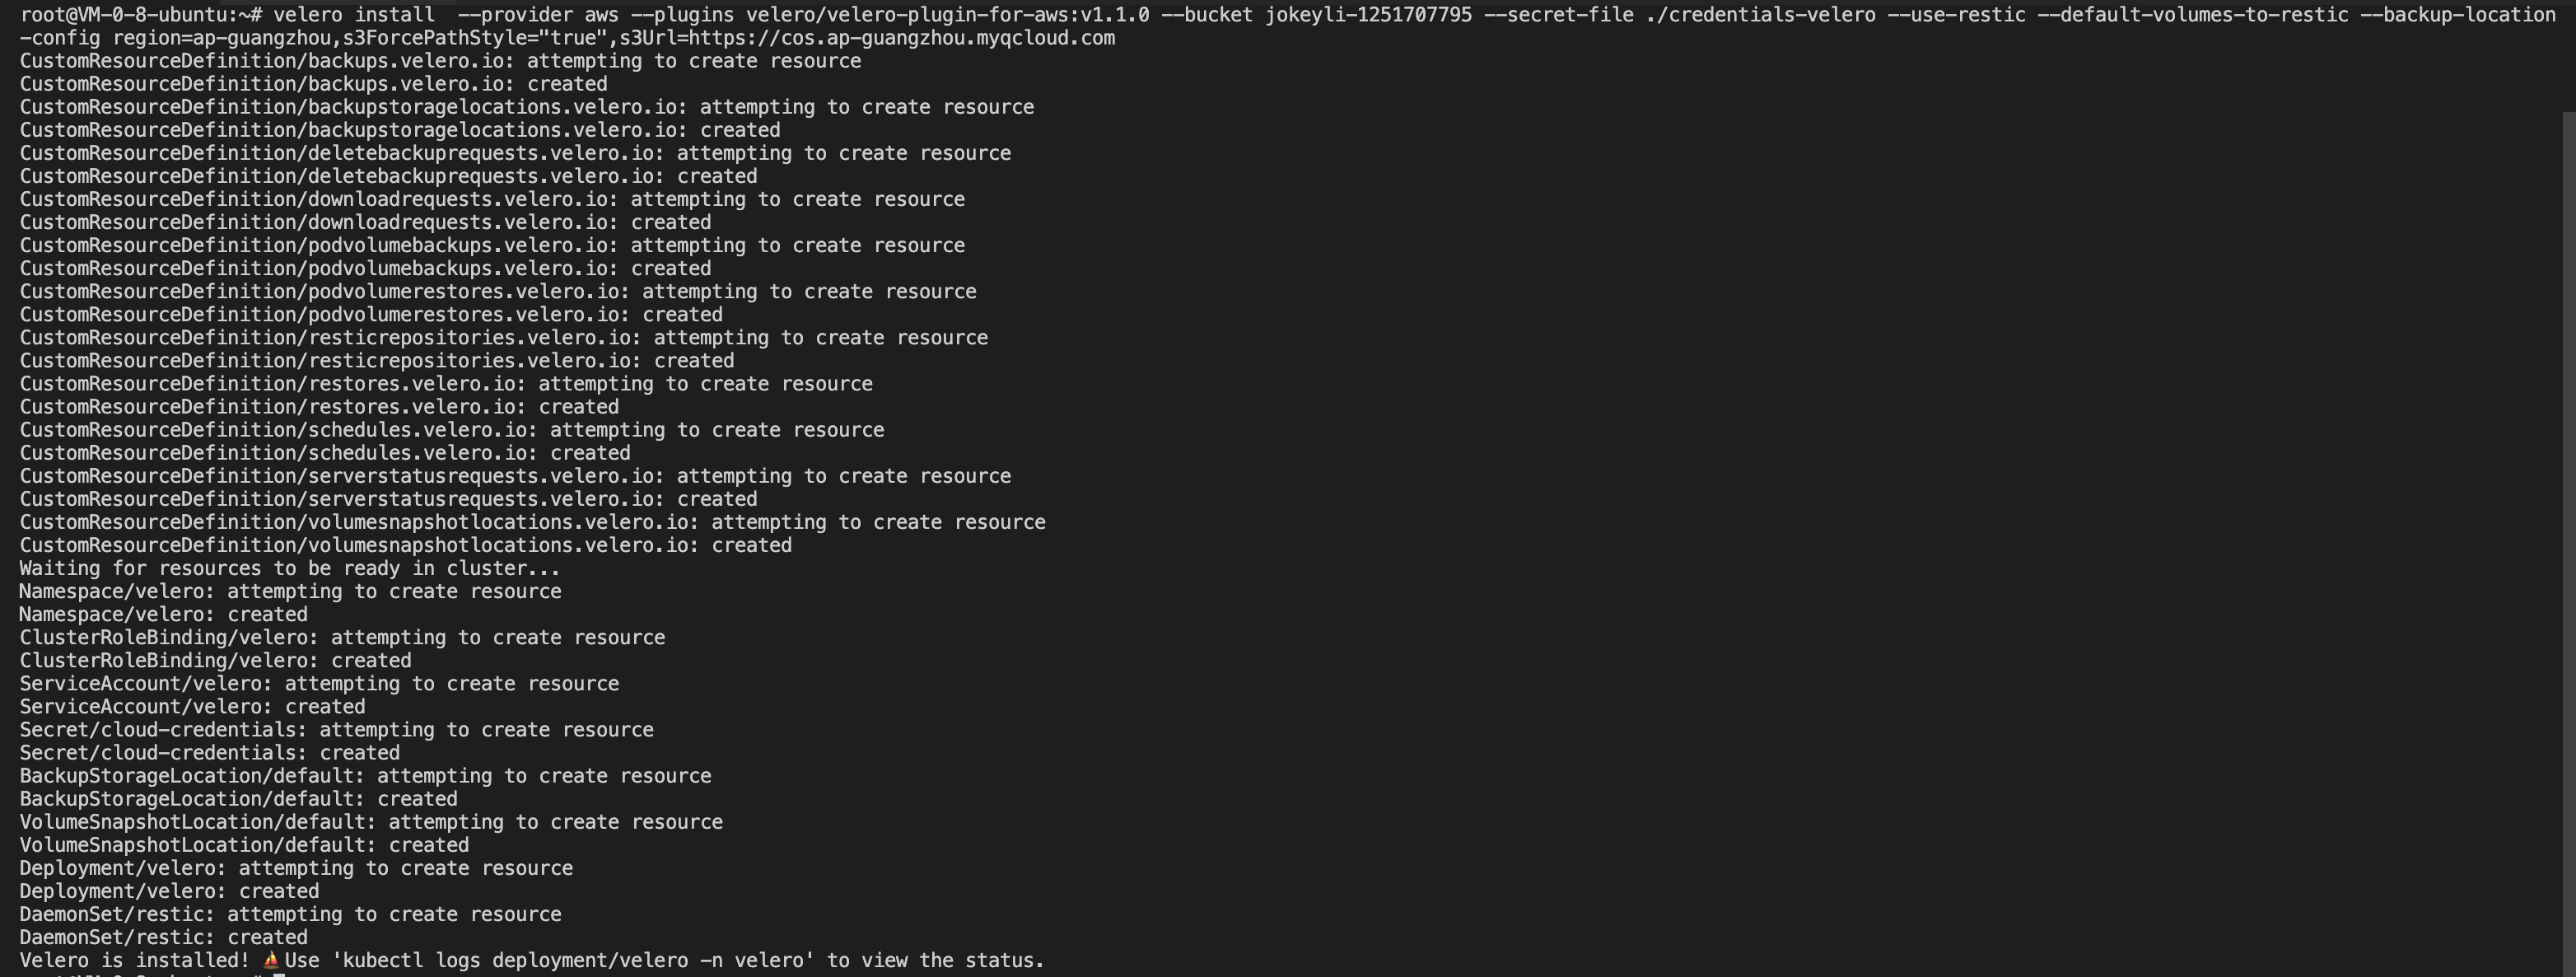
After the installation command is complete, wait for the velero and node-agent workloads to be ready to see if the configured storage location is available.
Executing the ‘velero backup-location get’ command to view the storage location status and display “Available” indicates that access to Tencent Cloud COS is OK, as shown in the following image:

At this point, The installation using Tencent Cloud COS as Velero storage location is complete, If you need more installation information about Velero, You can see the official website Velero documentation .
Velero backup and restore example
In the cluster, use the helm tool to create a minio test service with a persistent volume, and the minio installation method can be found in the minio installation, in which case can bound a load balancer for the minio service to access the management page using a public address in the browser.

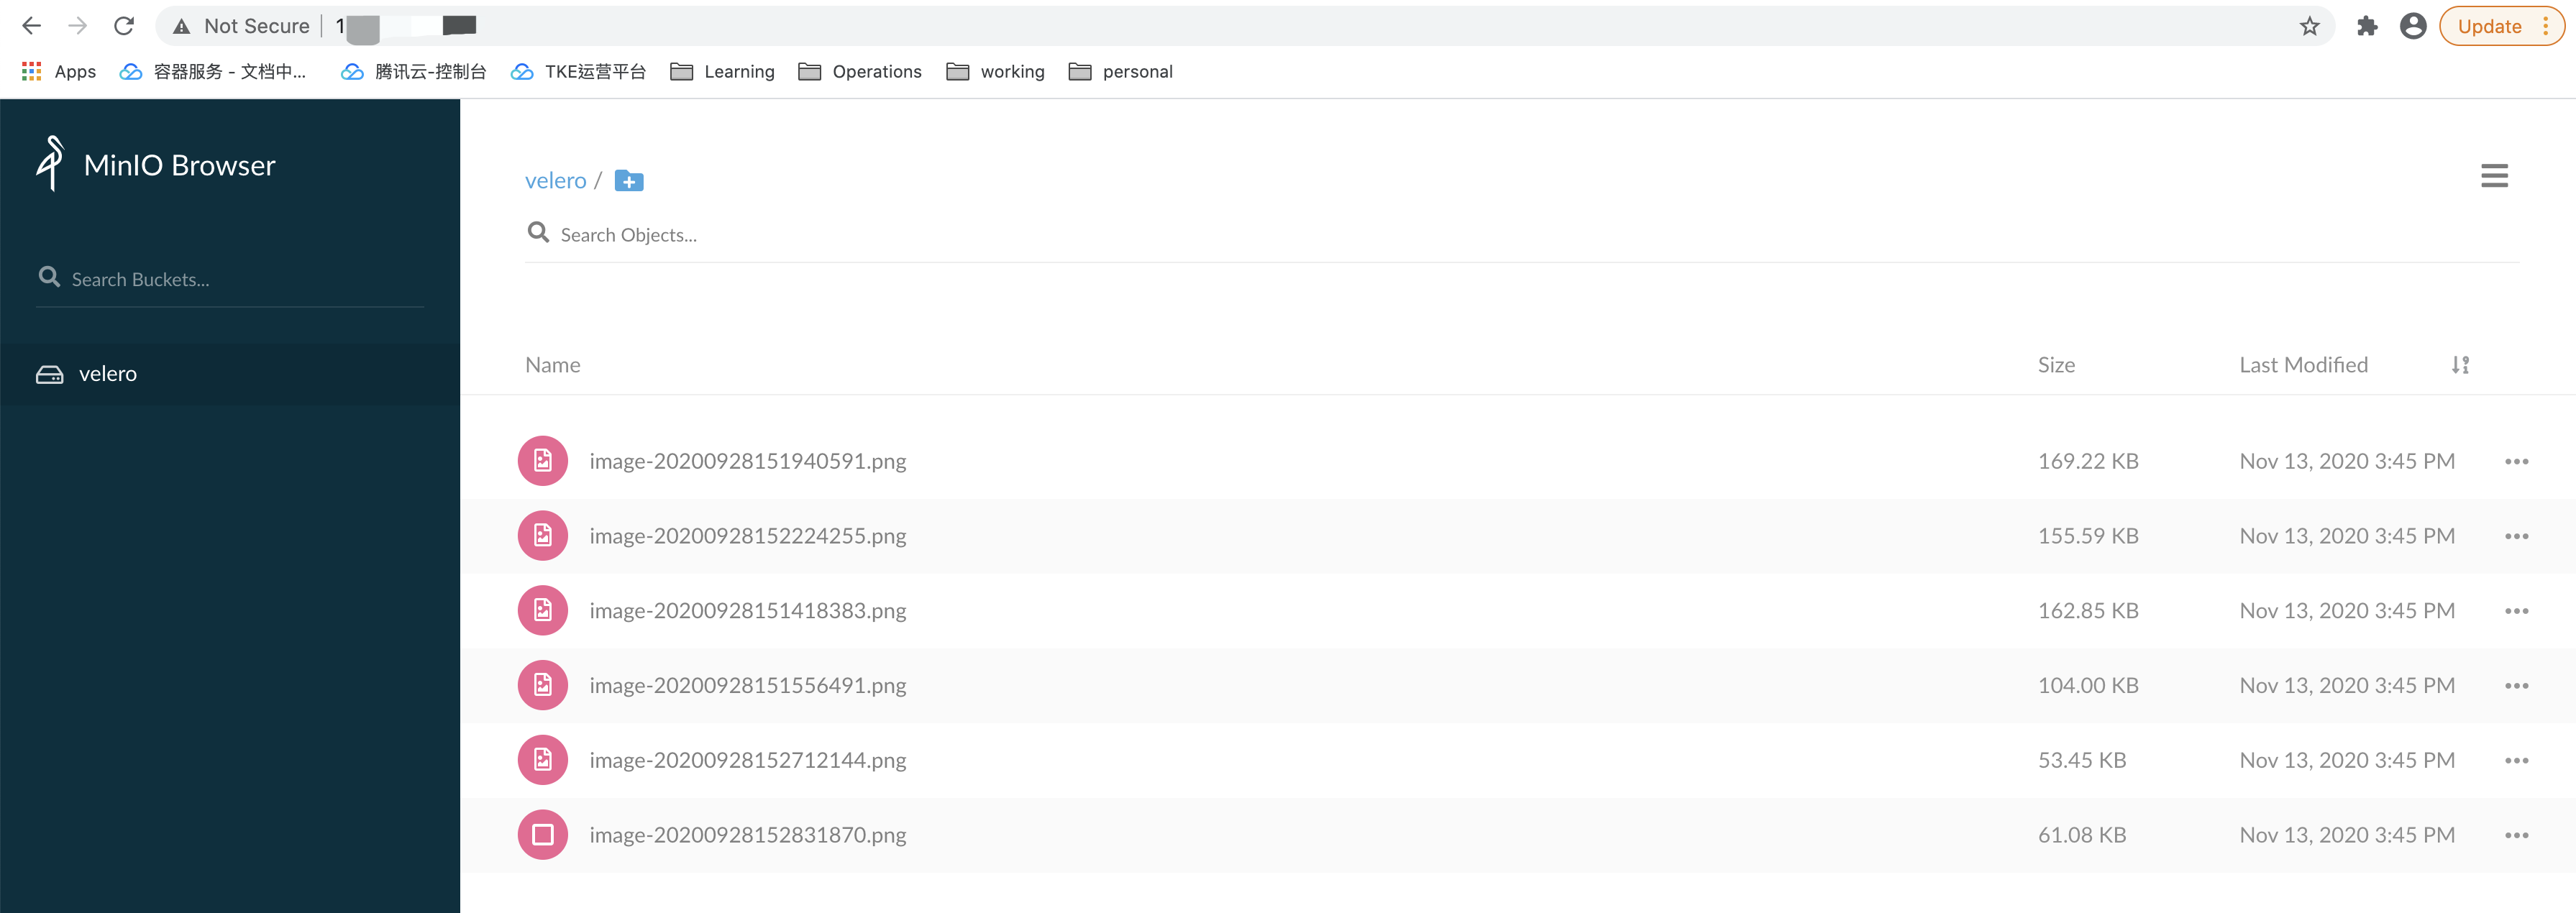
Sign in to the minio web management page and upload some image data for the test, as shown below:
With Velero Backup, you can back up all objects in the cluster directly, or filter objects by type, namespace, and/or label. This example uses the following command to back up all resources under the ‘default’ namespace.
velero backup create default-backup --include-namespaces <Namespace>
Use the velero backup get command to see if the backup task is complete, and when the backup task status is “Completed,” the backup task is completed without any errors, as shown in the following below:

At this point delete all of MinIO’s resources, including its PVC persistence volume, as shown below::

After deleting the MinIO resource, use your backup to restore the deleted MinIO resource, and temporarily update the backup storage location to read-only mode (this prevents the backup object from being created or deleted in the backup storage location during the restore process)::
kubectl patch backupstoragelocation default --namespace velero \
    --type merge \
    --patch '{"spec":{"accessMode":"ReadOnly"}}'
Modifying access to Velero’s storage location is “ReadOnly,” as shown in the following image:

Now use the backup “default-backup” that Velero just created to create the restore task:
velero restore create --from-backup <BackupObject>
You can also use velero restore get to see the status of the restore task, and if the restore status is “Completed,” the restore task is complete, as shown in the following image:

When the restore is complete, you can see that the previously deleted minio-related resources have been restored successfully, as shown in the following image:

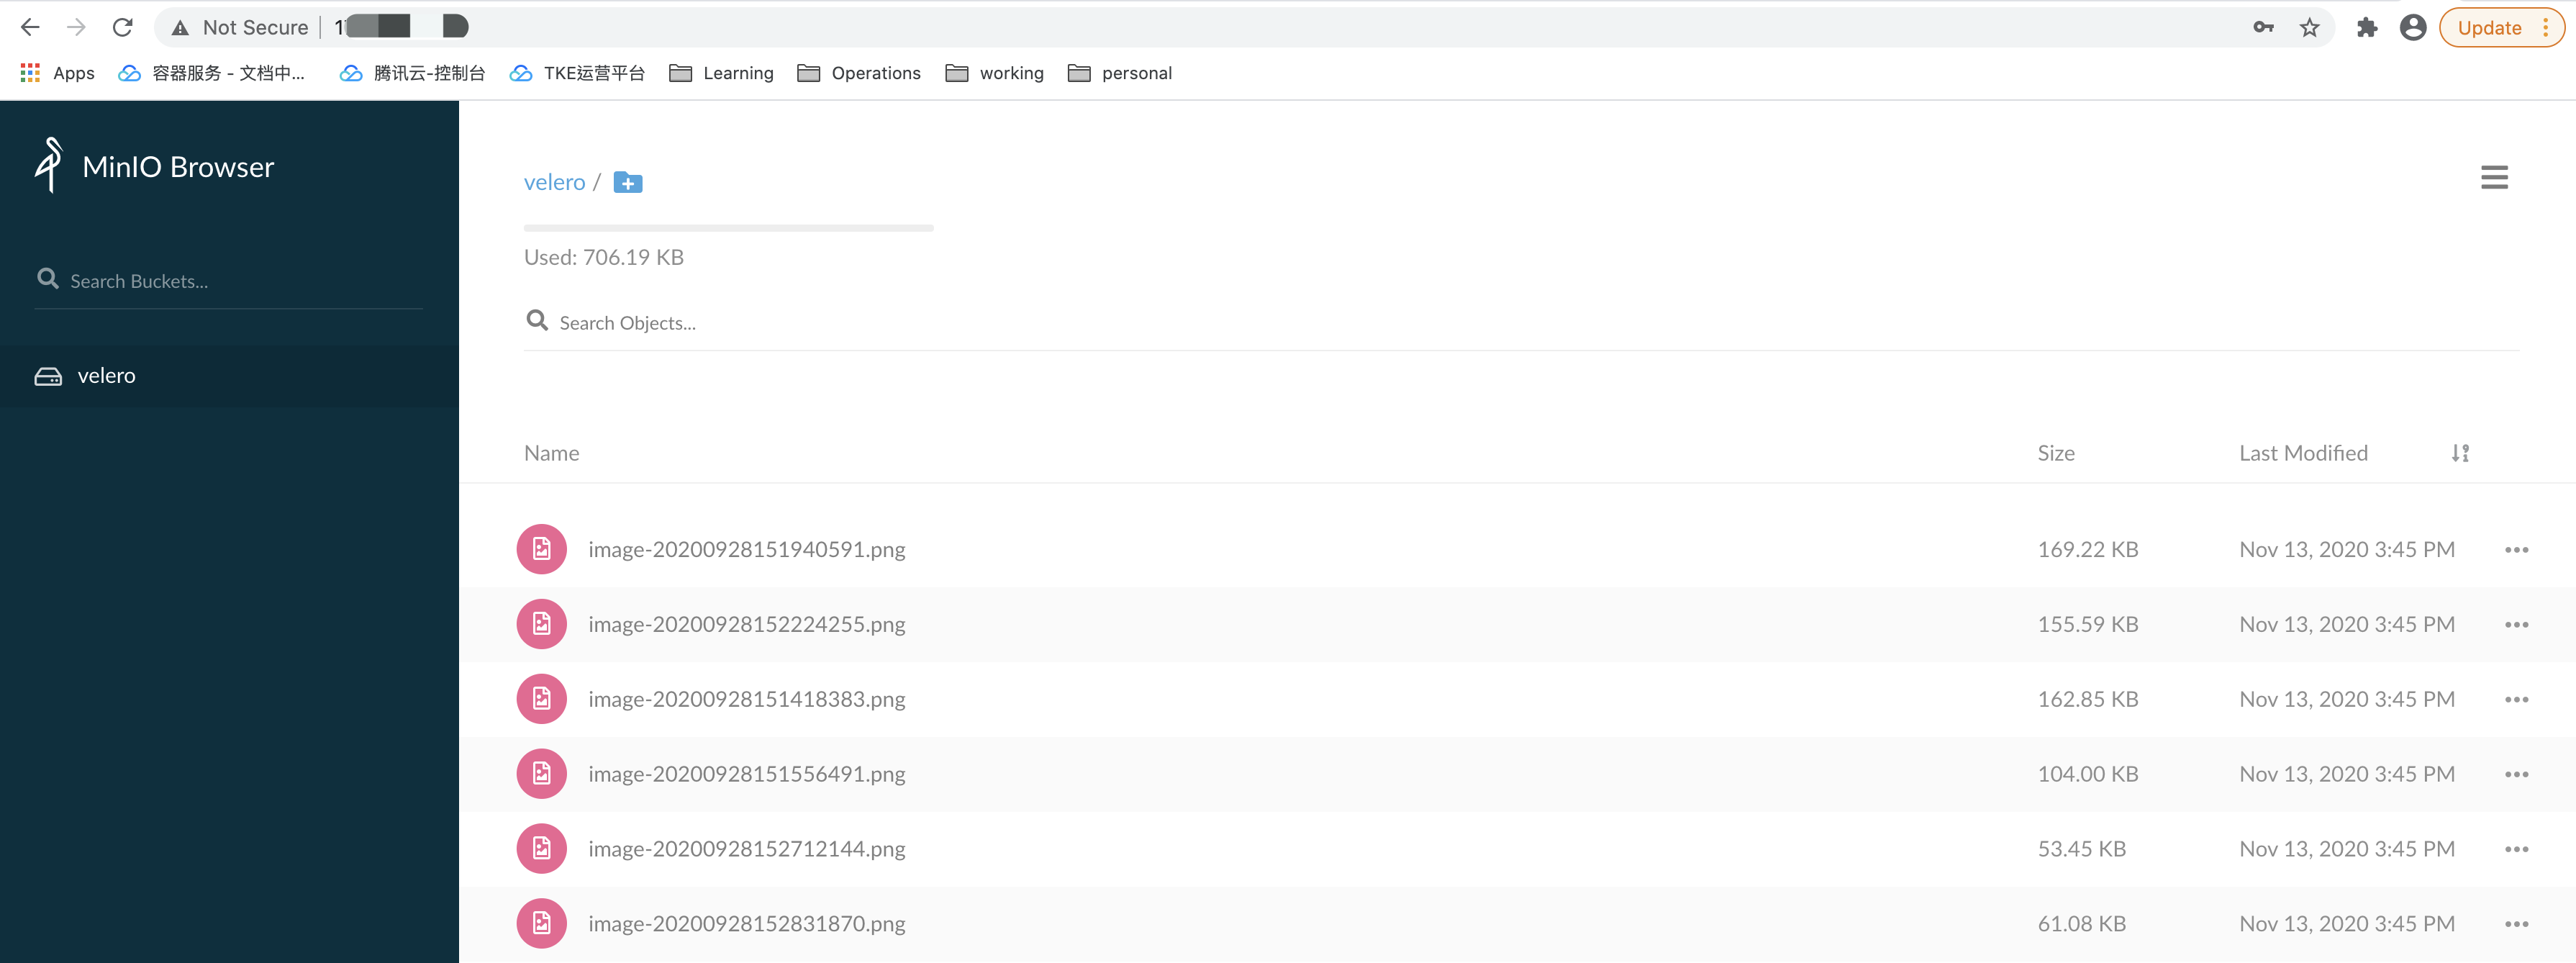
Log in to minio’s management page on your browser and you can see that the previously uploaded picture data is still there, indicating that the persistent volume’s data was successfully restored, as shown below:
When the restore is complete, don’t forget to restore the backup storage location to read and write mode so that the next backup task can be used successfully:
kubectl patch backupstoragelocation default --namespace velero \
   --type merge \
   --patch '{"spec":{"accessMode":"ReadWrite"}}'
Uninstall Velero Resources
To uninstall velero resources in a cluster, you can do so using the following command:
kubectl delete namespace/velero clusterrolebinding/velero
kubectl delete crds -l component=velero
Additional Reading
Getting Started
To help you get started, see the documentation.